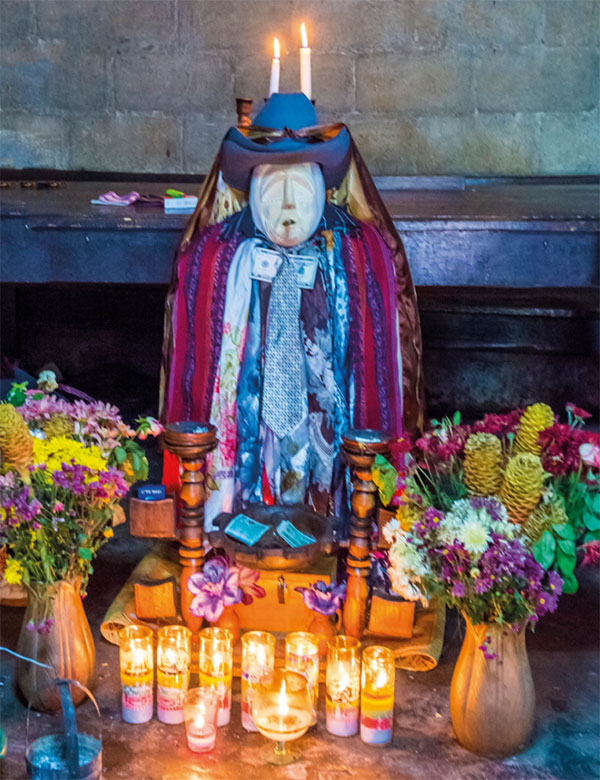
RELIGION From Indigenous beliefs and the Spanish push for Catholicism to the recent rise of Evangelicals, religion has helped shape Central America. ‘The first aim of your expedition is to serve God and spread the Christian faith,’ were the orders that the Spanish crown gave to conquistador Hernán Cortés on his expedition into Mexico to…
Racial Hierarchy – Maya Heartland Decline – Central America Travel Guide
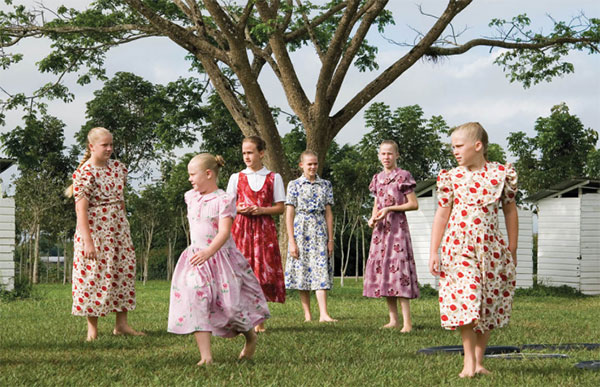
Racial hierarchy In many places in Central America the melting pot has been so thoroughly blended that locals are unexpectedly homogeneous. Wealth tends to be concentrated in the hands of the lighter skin, more European-looking residents, alongside those of newcomers from North America and Europe that are quickly establishing themselves among the elite. In many…
Maya Heartland Decline – Central America Travel Guide
MAYA HEARTLAND DECLINE There’s still no definitive explanation for the breakdown of the Classic Maya civilization, roughly between AD 800 and 900. It now seems that it was not caused by cataclysmic natural forces. The latest evidence now suggests that a prolonged drought caused harvest failures, almost certainly due to man-made environmental over-exploitation. In turn,…
People – Central America Travel Guide
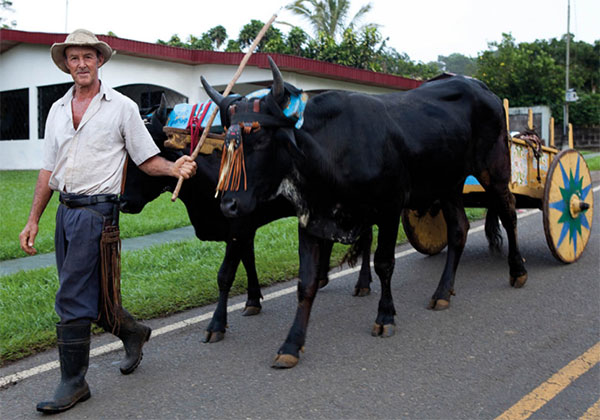
PEOPLE The people of Central America are as diverse as the natural landscape in which they live, but collectively they share a distinct Latin American heritage. Latino (ladino or mestizo) culture dominates Central America and competes with the US for cultural hegemony. The influence of the rest of the Latin world is very evident throughout…
Hurricane Mitch – Migrant Workers – Central America Travel Guide
Hurricane Mitch At peak intensity, Mitch sustained winds of 285 km/h and had one of the lowest barometric pressures for any Atlantic hurricane. The hurricane weakened as it reached the shores of Honduras, yet moved so slowly across Guatemala and Nicaragua that it dropped historic amounts of rainfall. Deaths due to catastrophic flooding made it…
Migrant Workers – Central America Travel Guide
MIGRANT WORKERS The US is home to millions of immigrants from the Northern Triangle countries of El Salvador, Guatemala and Honduras. While many are undocumented and lack legal pathways to bring the children they left behind to the United States, the desire to reunify remains strong. Upticks of instability throughout the region increase the drive…
The Nicaragua Revolution – Banana Republics – Central America Travel Guide
The Nicaragua Revolution With the backing of the US, the Somoza family political dynasty came to power in Nicaragua in 1912 and would rule for the next seven decades. With wealth from US-based multinational corporations and the backing of the US military, their rule was characterized by rising inequality and widespread political corruption. General Anastasio…
Banana Republics – Central America Travel Guide
BANANA REPUBLICS The canal brought mostly positive changes to Panama. Infrastructure was developed to treat water, sewage, and garbage within the Canal Zone and the cities of Panama and Colón. The area was even rid of yellow fever using techniques pioneered by Cuban physician Carlos Finley by 1905. Although the US originally signed a contract…
Modern History – Central America Travel Guide
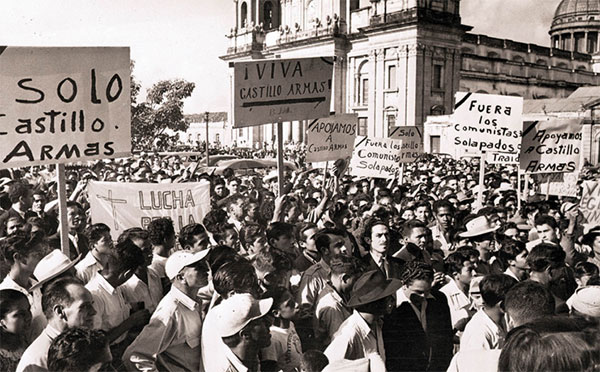
MODERN HISTORY Natural disasters, civil wars, and foreign intervention have dominated headlines in recent decades, but stability in the region finally seems to be within reach. The 20th and 21st centuries have seen many ups and downs in Central America. There has been no shortage of drama to say the least. Civil Wars, uprisings, revolutions,…
Flying The Flag – Central America Travel Guide
FLYING THE FLAG Central America’s strategic location between the Atlantic and the Pacific was emblematic for the formation of the short-lived Federal Republic of Central America. The federation’s flag displayed a white band between two blue stripes, epitomizing the land between two oceans, while the coat of arms showed five mountains, each signifying a different…
